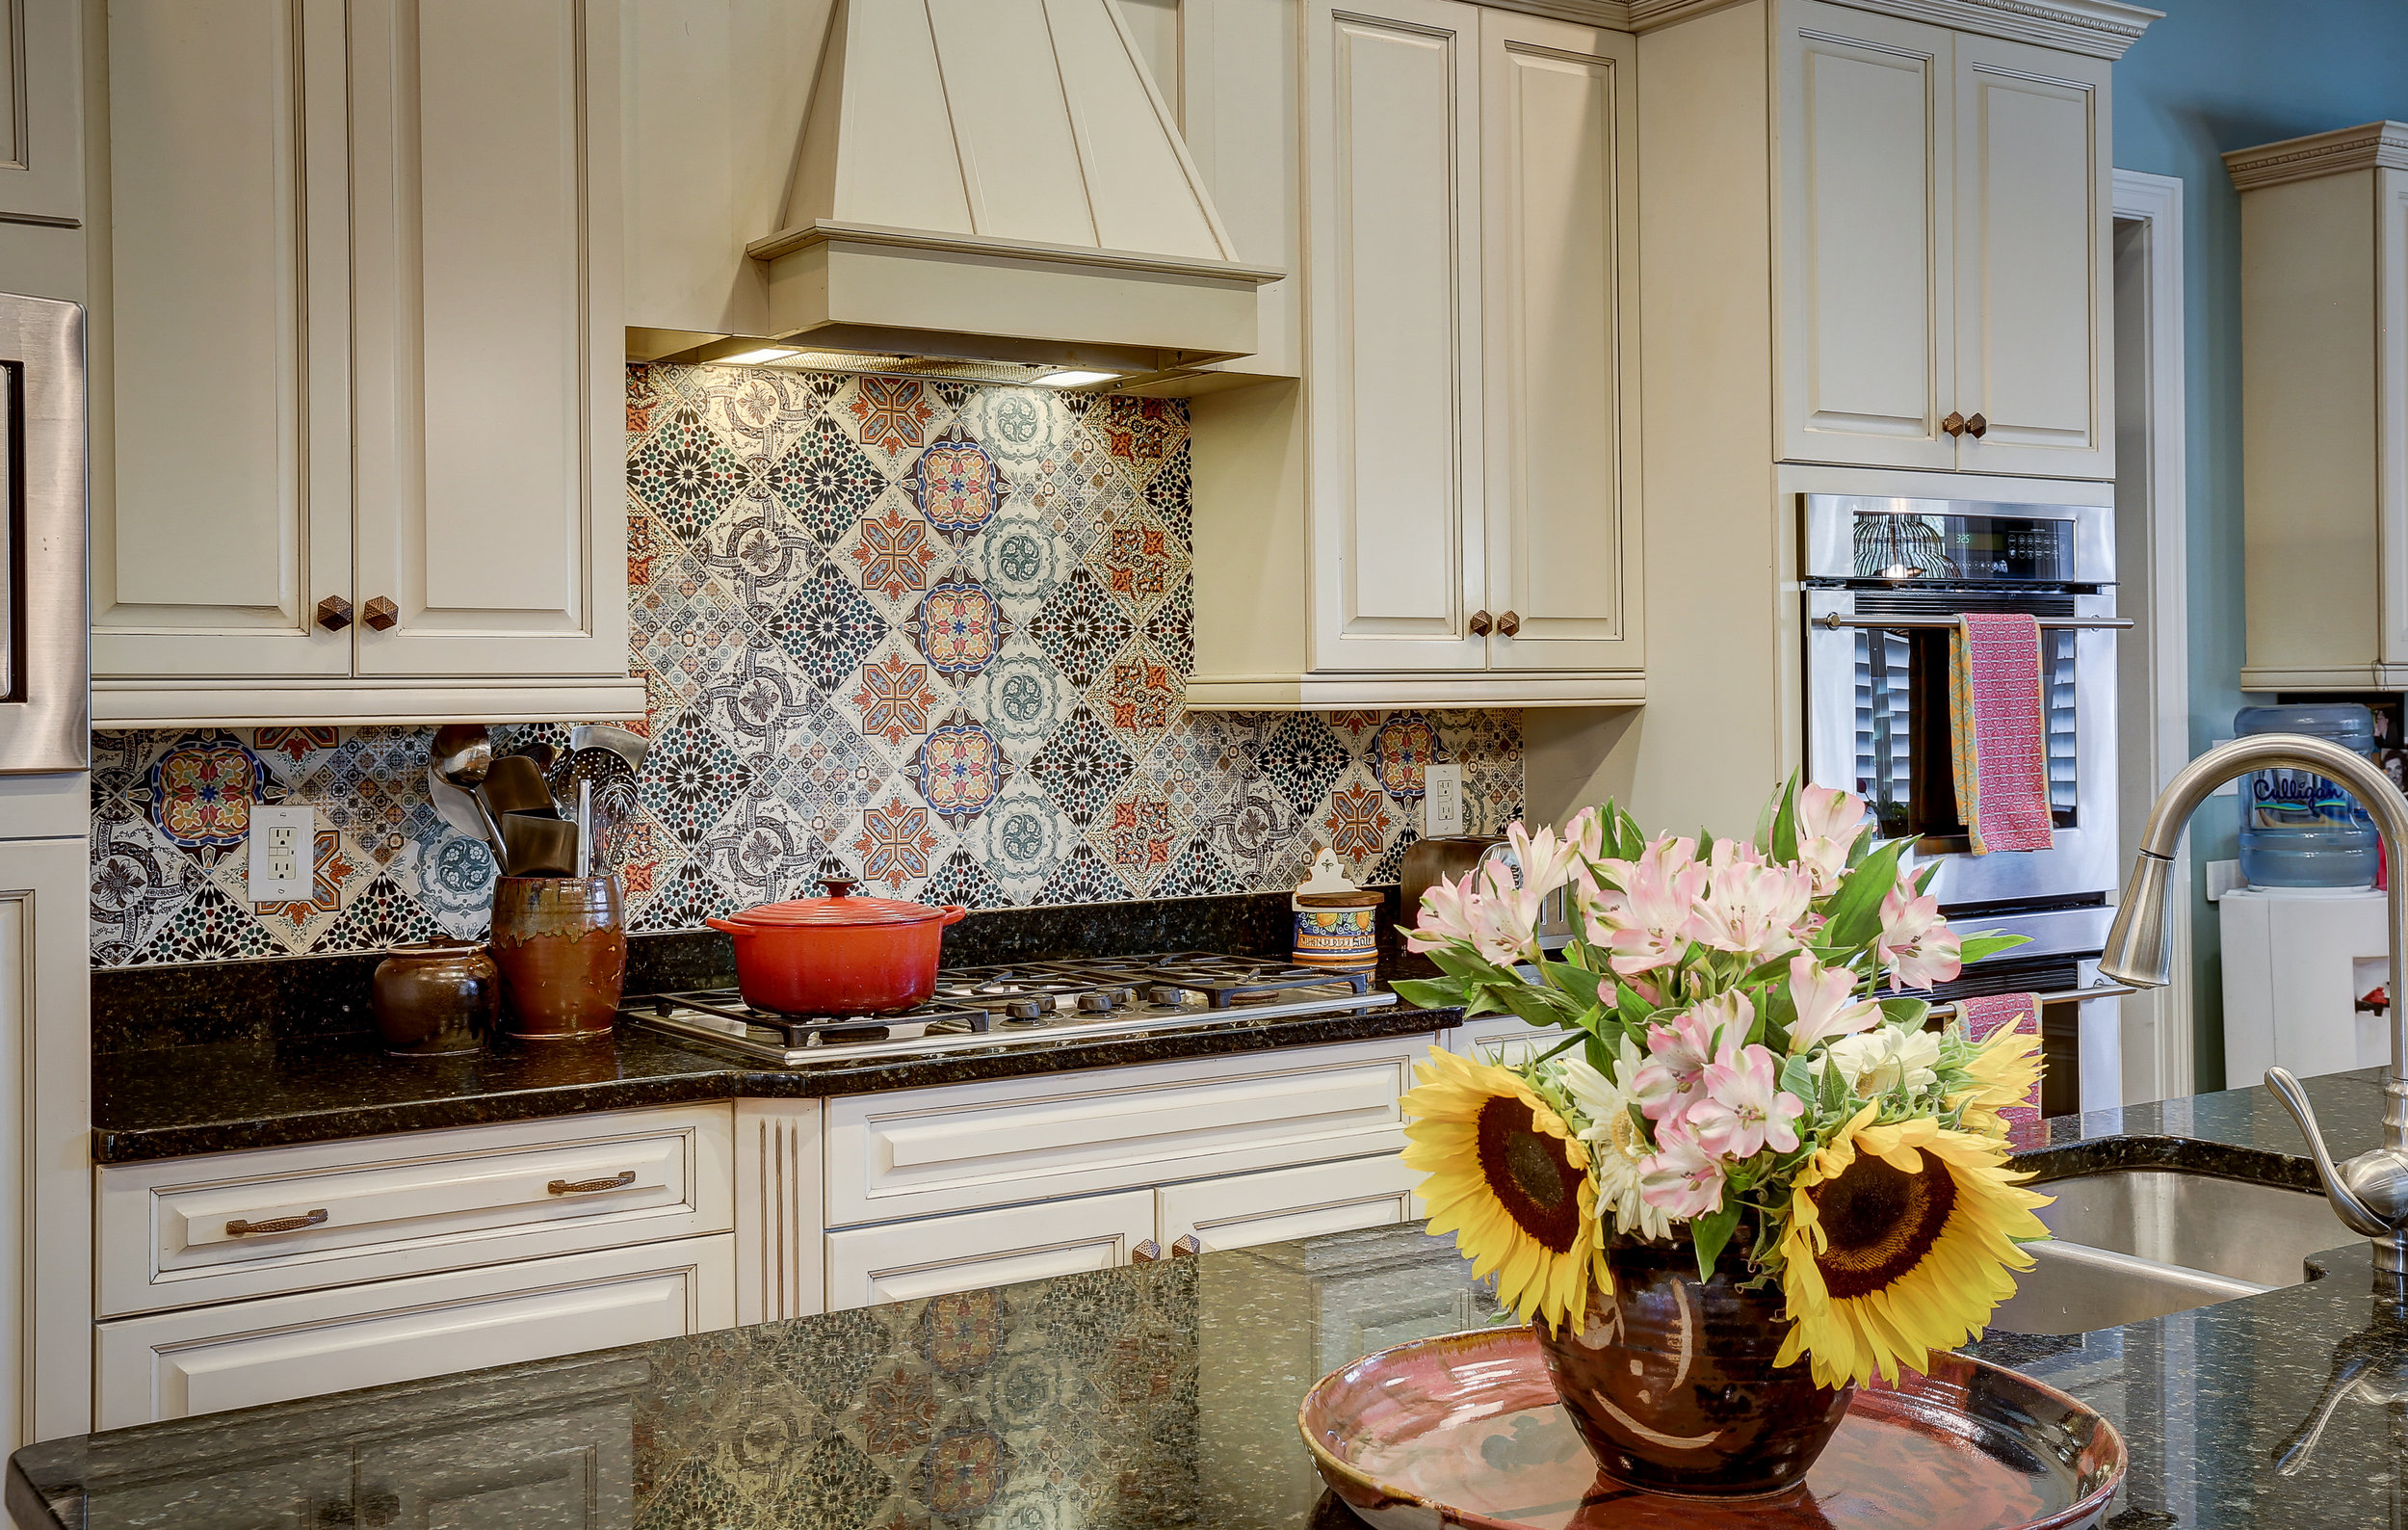
A pop of color or intricate detail behind your kitchen sink or stove is such a great way to bring a unique touch to your home. Part of the beauty is that you don’t have to worry about overspending on a contractor in order to make it happen. It’s relatively easy to do yourself, and it makes a fun weekend project! Keep reading to learn how to create your own stunning tile backsplash!
Materials you'll need:
Wall tiles
Tile adhesive
Mortar
Grout
Grout sealant
Cardboard/heavy-duty craft paper
Tools you’ll need:
Drill/driver with mixing attachment
Grouting sponge
Tile-cutting hand tools
Level & straight edge
Wet saw
Tile spacers
Notched trowel/float
Buckets
What to do:
1. Measure your wall. For backsplashes, you can multiply the height by the width to get a square footage of how much tile you’ll need. Consider purchasing about 10% extra tile in case any break or if any gaps need to be filled.
2. Prep your workspace. Move large appliances away from the area, and clear everything from your countertop. Cover your countertop with cardboard or heavy-duty craft paper for protection.
3. Prep the wall. Patch any holes if necessary and sand lightly. Use a little soap and water to clean the wall, and allow it to fully dry. Remove any outlet or light switch covers.
4. Lay out the backsplash. If you’re working with a design, it can be helpful to lay your tiles out on the counter so that you can place them exactly the way you want them before actually creating the backsplash. You can then pre-lay them on the wall to get an idea of how much cutting you’ll need to do.
Mark the center—or most viewable portion--of your backsplash wall so that you can start there and work your way out. Also mark where your tiles end on the outer edges so that you can measure how much, if any, your last tiles will need to be cut. Be sure to use a level to keep your tiles even as you mark.
5. Prep & apply the mortar. Follow the directions on your mortar to fill a bucket with water and gradually add your powder. Mix it well, let it stand for 5 to 10 minutes, and then mix it again.
Start where you made the mark in the center of your wall, beginning with a 2-foot section so that you have time to apply your tile without the mortar drying. Use the flat edge of your trowel to apply a thin layer of mortar. Add a little more mortar to the notched edge and comb it in one direction.
6. Apply the tile. Place your tile or mosaic sheets along the wall, using tile spacers as you go to keep everything lined up. Rock the tiles into place, perpendicular to the combed lines in your mortar to help them settle in deeper. Flatten the tile with a grout float, and clean off any excess mortar with a sponge as you go. If you have extra space on your outer edges you’ll need to cut the tile to fit. A tile cutter will work well for ceramic and porcelain tiles, and a wet saw should be used for stone.
7. Let the tile dry. Depending on the mortar used, your tile will probably need about 24 hours to dry.
8. Clean & prep the grout. The grout you use should depend on the joint size between your tiles. Similarly to preparing the mortar, fill a bucket with the amount of water listed on the instructions and mix in the powder. Mix it well and let it sit for 5 to 10 minutes. Mix the grout again before applying.
9. Grout the tile. You’ll typically have about 2 hours to use your grout after mixing it. Working diagonally, apply the grout in sections using the grout float at a 45-degree angle. Hold the float at a 90-degree angle to remove excess grout. Use a damp sponge in a circular motion to wipe off the tiles. Repeat this process several times, and then wait a few hours after your last cycle of grouting to wipe the tile again with a damp sponge.
10. Seal the tile. Give the grout anywhere from 24 hours to 3 days to fully dry and apply a grout sealant to protect from stains. When the sealer dries, you can apply caulk at the junction between your counter and the backsplash.
11. Enjoy!
Thinking you don't have all of the tools you need for this trade? Click the button below to fill out our Custom Renovations Form and we'll be in touch to give you an estimate for your new home upgrades.


